Sheet to Sheet Screen Printing Machine
Professional designer and manufacture of CCD machines for ONE STOP SOLUTION.
Language
Professional designer and manufacture of CCD machines for ONE STOP SOLUTION.
The CCD Alignment Screen Printing Machine for Sheet is the core machine of the sheet printing line.The whole process includes: automatic separate material - auto dust removal (including Initial positioning of clamping edge) - automatic loading - CCD alignment screen printing - automatic unloading - baking - auto collecting the finished product.
The machine is suitable for printing on sheet materials such as: membrane switches, glass covers, acrylic, ITO, conductive films, composite back covers, etc.High alignment accuracy, fast printing speed and the entire production line can be operated by just one person.
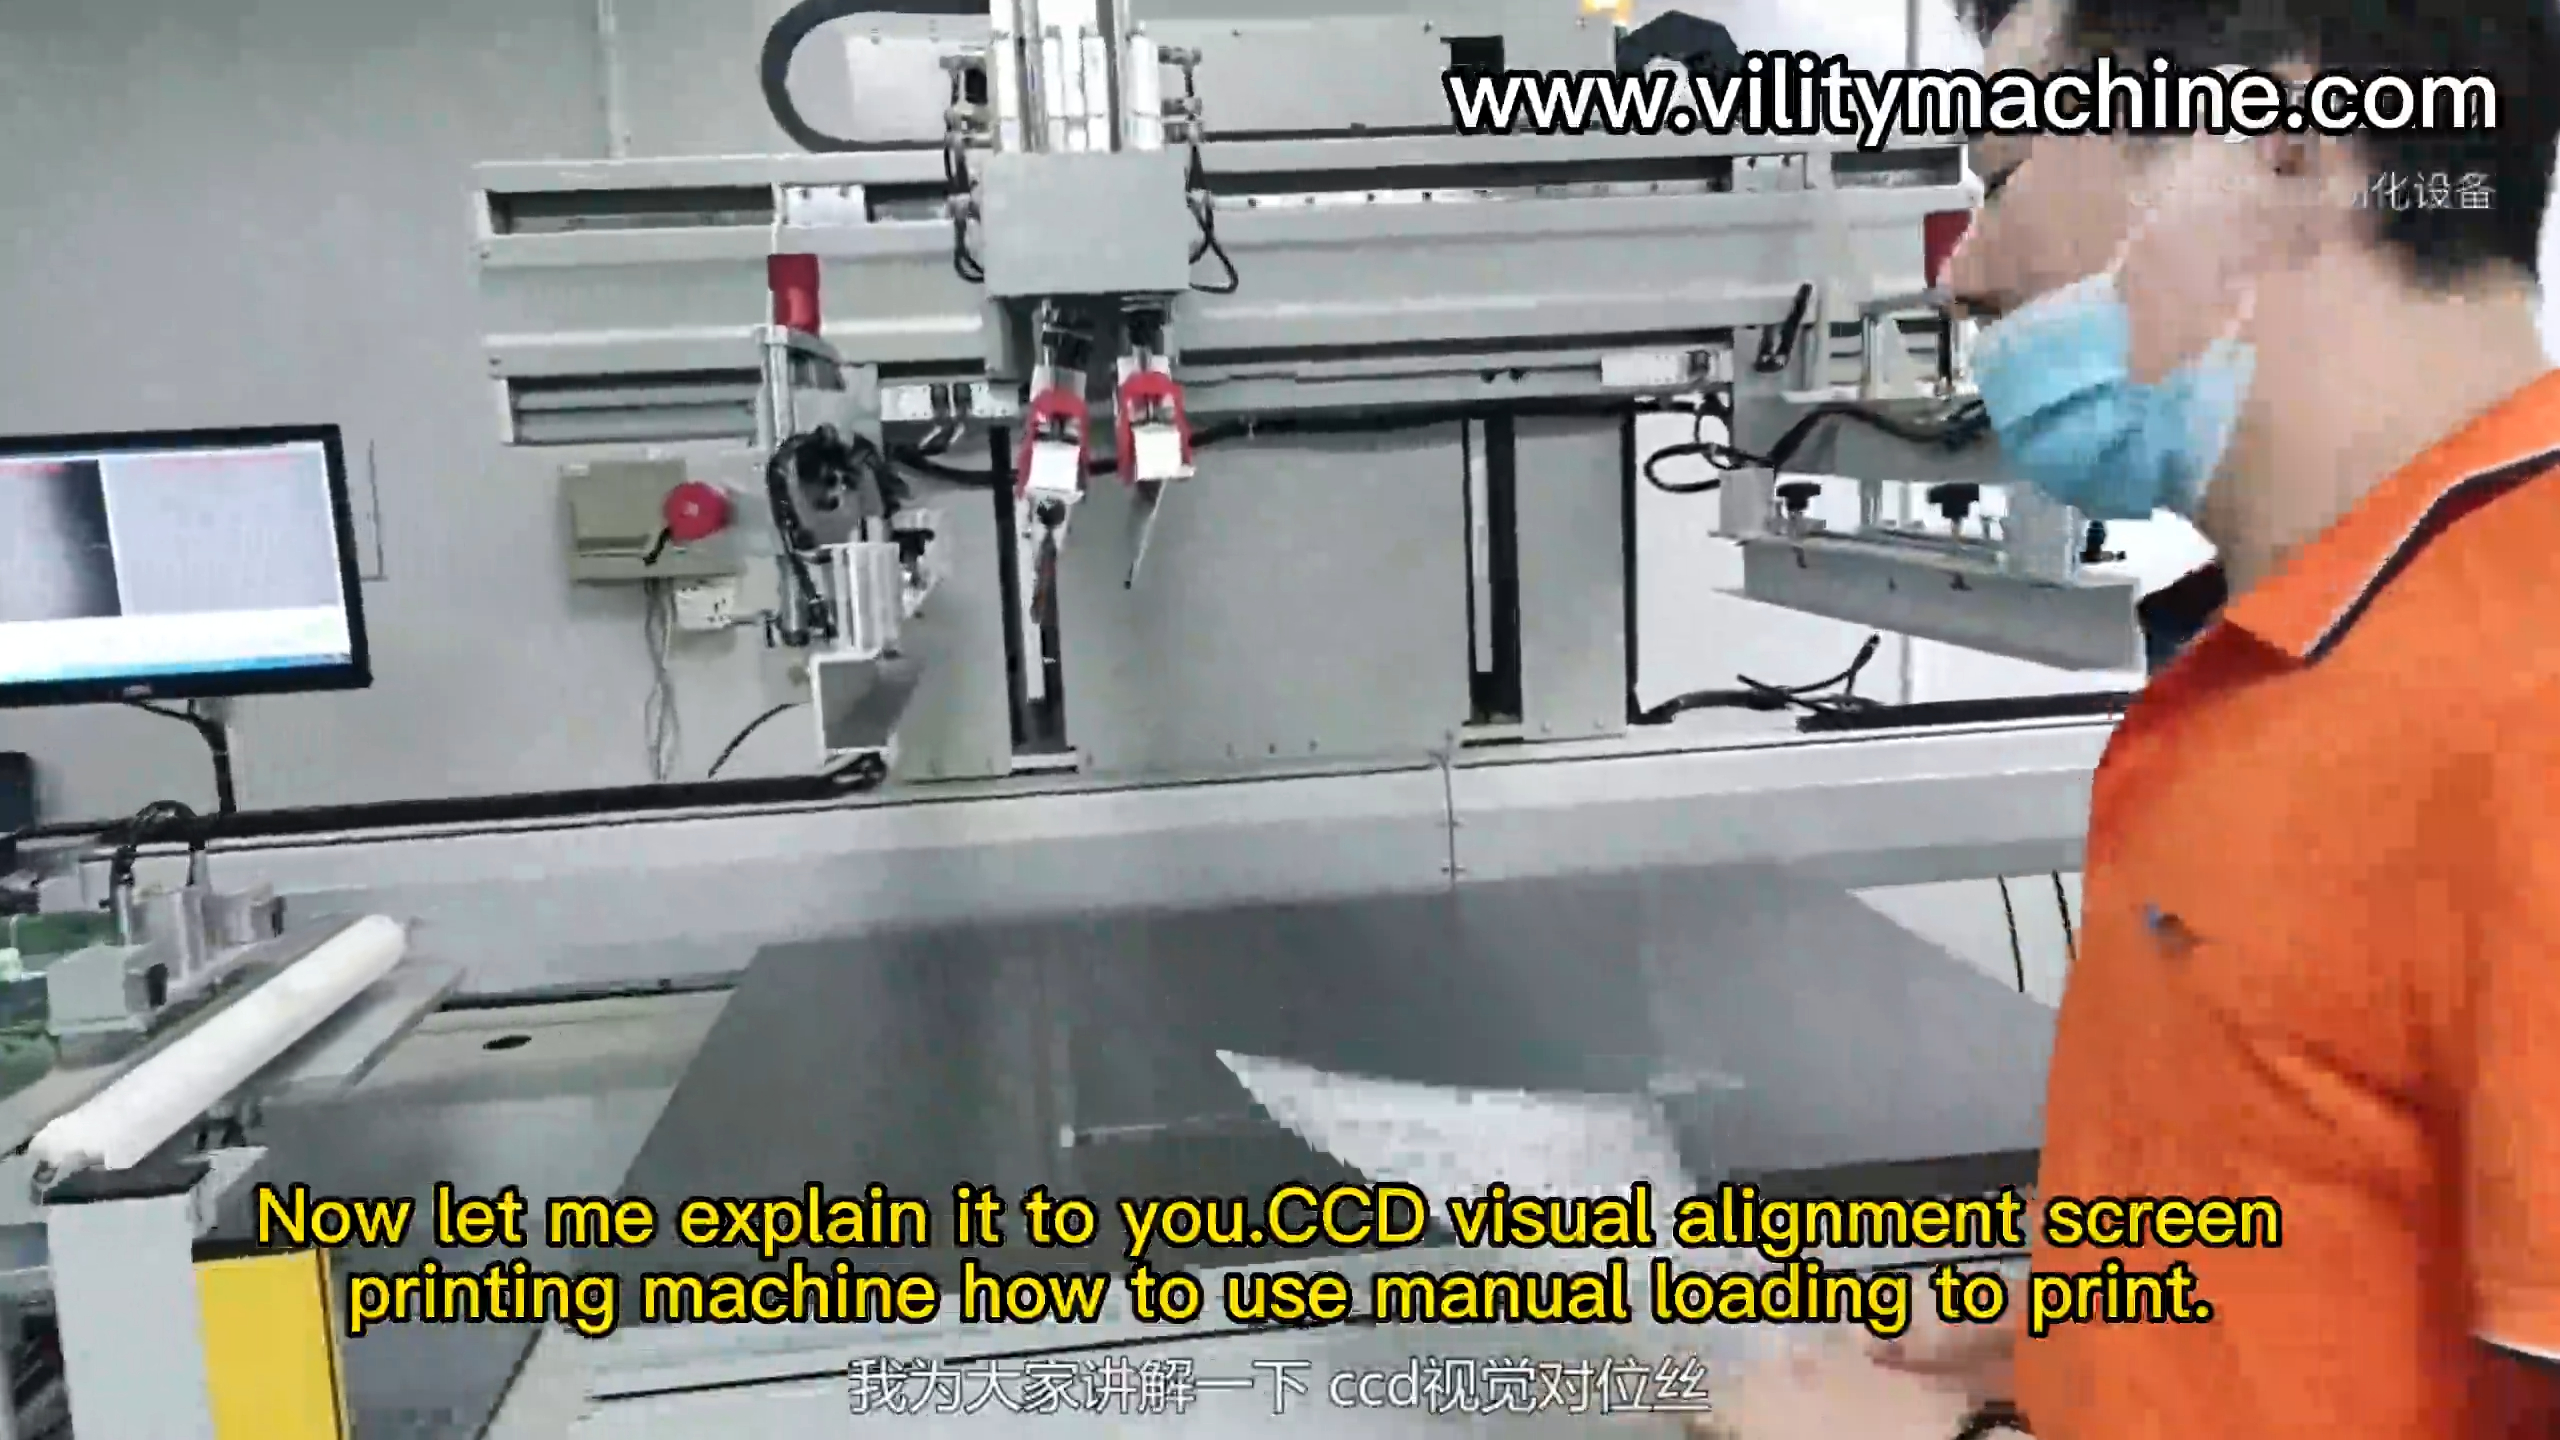
Now let me explain it to you.
CCD visual alignment screen printing machine how to use manual loading to print.
There are two situations where manual loading can occur.
When printing manually, the CCD has a search range. This will be determined by the size of the mark point being searched.
For example, with a material like this one, the size of the mark point sampled is used to determine the size of the search range.
Let's take this material as an example.
The black circle is the mark point, which is relatively small.
It has a range of movement of about two mm. The range of movement on all four sides is about two mm.
If the mark point is taken to be relatively large. A point is taken at the edge of the black block.
In this case, because the mark point is large, the range of movement is relatively small.
The range of movement is basically around 1mm
Under normal production conditions, the CCD search range is between one and two millimetres.
That is, ±1-2 tmm. That is, within 1 to 2 millimetres upwards of where the material is placed.
or within 1 to 2 millimetres downwards, left or right. The CCD is searchable.
Of course, this is determined by the mark point size.
How do you manually loading in the printing process?
The first step, as with normal printing, is to place the mark point of the material on top of the CCD camera.
The mark point is now visible on the monitor and the mark point can be detected by the CCD.
Then do the same to install the screen, go to find Mark point. And then calibrate.
I have already taken the sample point for this time. Once the sample has been taken, it can be calibrated.
Now how to operate after the calibration is completed?
First of all, turn on the "long suction" of the screen printing machine to hold the material.
when printing, there are two specific manual loading situations.
In the first case, take the present material as an example, the Mark point is the same distance from the edge of the material.
All the material, whatever 1,000 sheets, 2,000 sheets or 5,000 sheets, is ok.
or 200 sheets, then the mark point is the same distance from the edge of the material for these 200 sheets, they are at the same distance.
This means that at the first stage of the production process, the printing is done using Registration alignment or overlay printing.
The distance from the Mark point to the edge of the material is the same.
In this case, how do we go about manually loading the print?
This is very simple, the same, first of all, after finding the mark point, turn on the self-suction of the screen printing machine.
Then you can mark the table. The mark is drawn along the edge of the material.
In this case, the distance from the mark point to the edge of the material is the same, and for all materials, the mark points are at the same distance.
The first process is Registration alignment or overlay printing then a line can be drawn.
Or if you have a PET material, a sticker material, or other printed material.
or other printed material that has a straight edge and stick it against the edge of the material. Those are possible. Stick to the edge of the material.
When this is the case, I will show you.
The material to be printed is now placed against the edge of the material that has been taped.
This is placed at a distance of ±1-2millimetres, so that the mark point is basically within the search range of the CCD.
you can see the required mark points on the monitor, then the screen printer can print normally.
Just to show you, when Mark is here, The printing table automatically twists into alignment。
That's fine.
I'll try it again in a different position. The material was just off to the left.
Now put it in the top position, then go back to manual alignment.
Again, it's OK.
In the first case, you can fix the position by drawing a line or by putting this positioning piece on the side.
The material is then placed each time according to the line drawn. Or put it next to the reference piece and it will be ok.
The second situation.
In this case, the first printing process is a blind print.
This means that the mark points are not equal to the edge of the material.
It could be that on one sheet the mark point is one centimetre from the edge of the material.
Then the next one may be two centimetres, or 1.5 cm.
The error of different Mark points is more than 2 mm. It could be 3mm, 4mm, 5mm or 1 cm.
So in this case, how to go to manual loading printing?
The same applies. First find the mark point, then mount the screen and take the sample point.
Now we need to make a Mark on the table.
How to do this Mark?
In the former case, if the material distance is the same, it is to mark the edge of the material.
In this case, we can only mark under the pattern in the printing area.
For example, this material, in the normal printing position, the correct position is here.
So how to get to the sample point for the next sheet of material?
Well, first of all, specify the pattern that needs to be printed.
For example, on this material, here is the pattern.
Depending on the pattern to be printed, mark the underside of the material.
Then use a pen to draw the markings on the screen printing machine table.
Determine where each point needs to be. both sides are the same, and mark them all.
The same four sides should be marked, otherwise they will not be aligned.
After the markings have been made, change any sheet of material and place it in the same way.
Place it according to the markings. Place it in the place where the mark was made.
The same error is within 1-2 two millimetres. CCD is searchable.
The reference in the former case is the edge-drawn line, and the logo patch that was applied.
Then the markings now are the dots drawn on the press table.
Draw it with an oil-based pen, or put a tinted label on it. Make it clear as a reference point.
Place the material on top of the marking point, probably within a distance of 1 to 2 mm.
The ccd is searchable and can then be printed in the same position.
The distance between 1 and 2 mm is OK.
The exact distancet depends on the size of the mark.
This is the method of CCD manual loading printing.
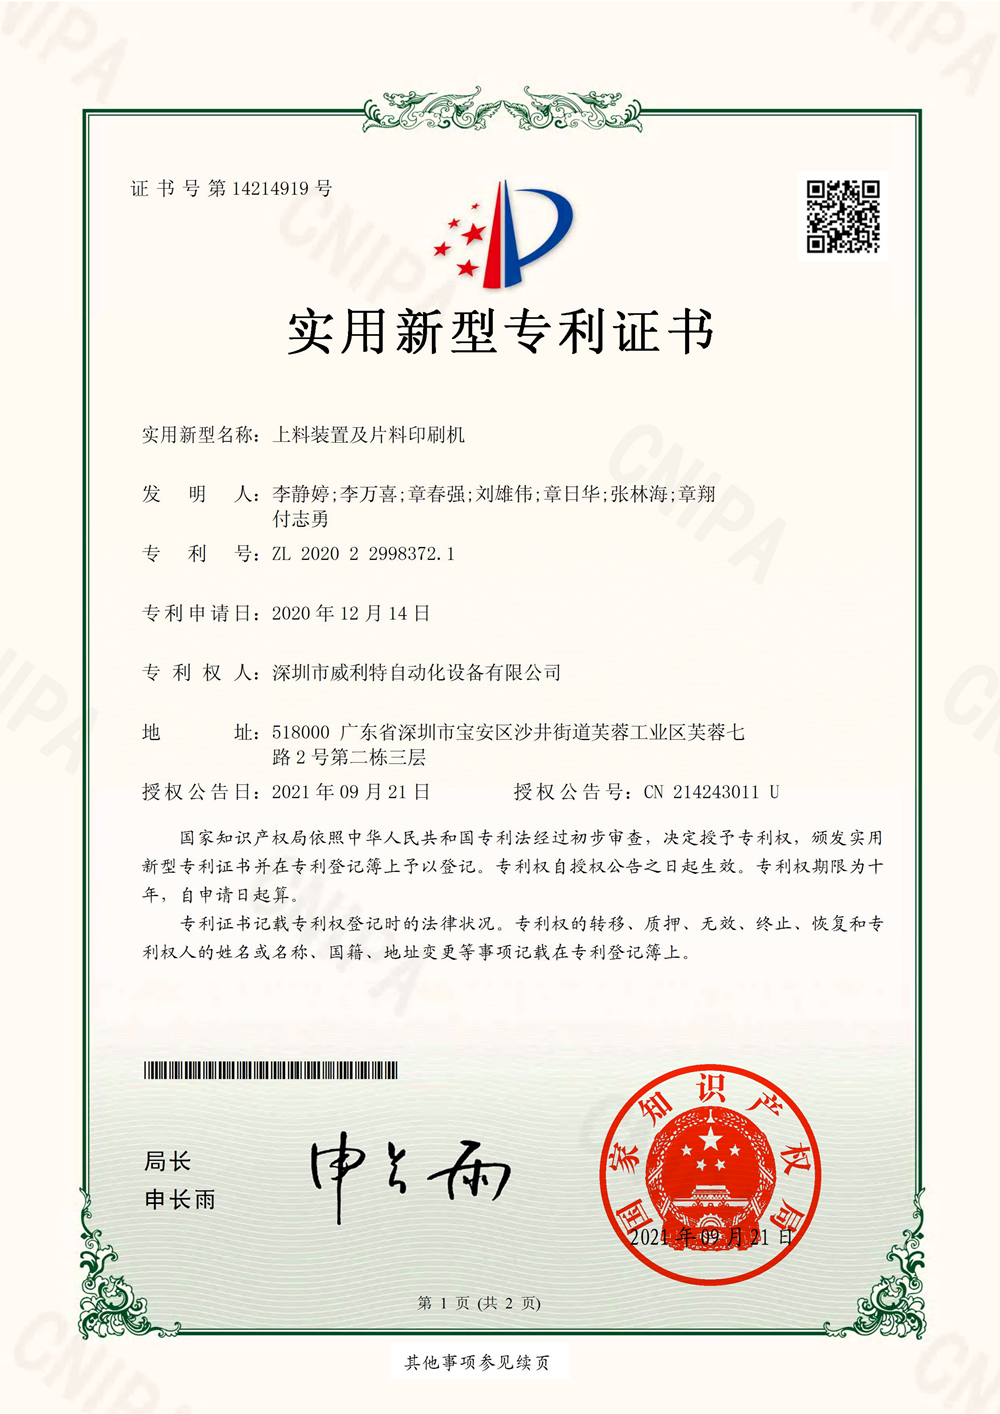


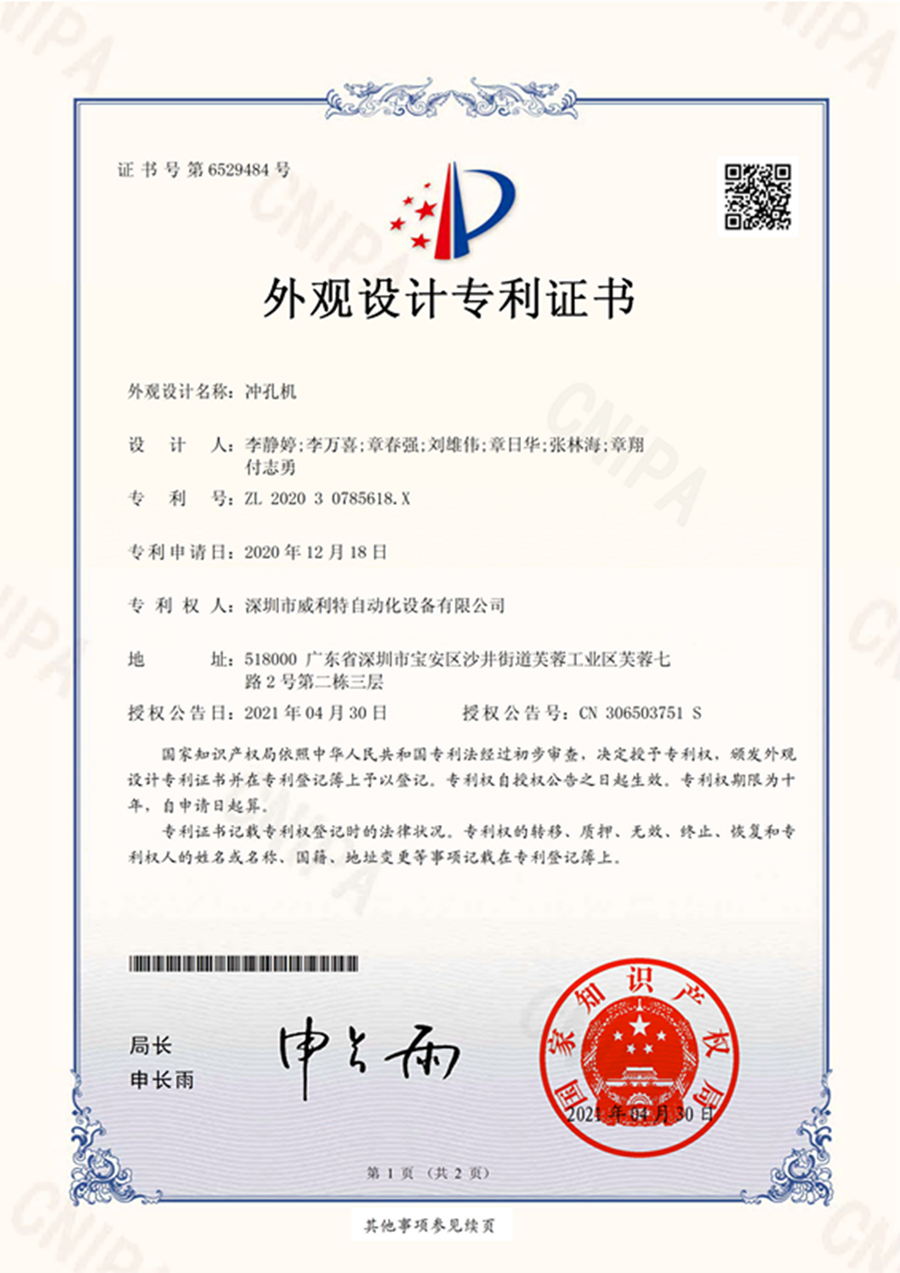
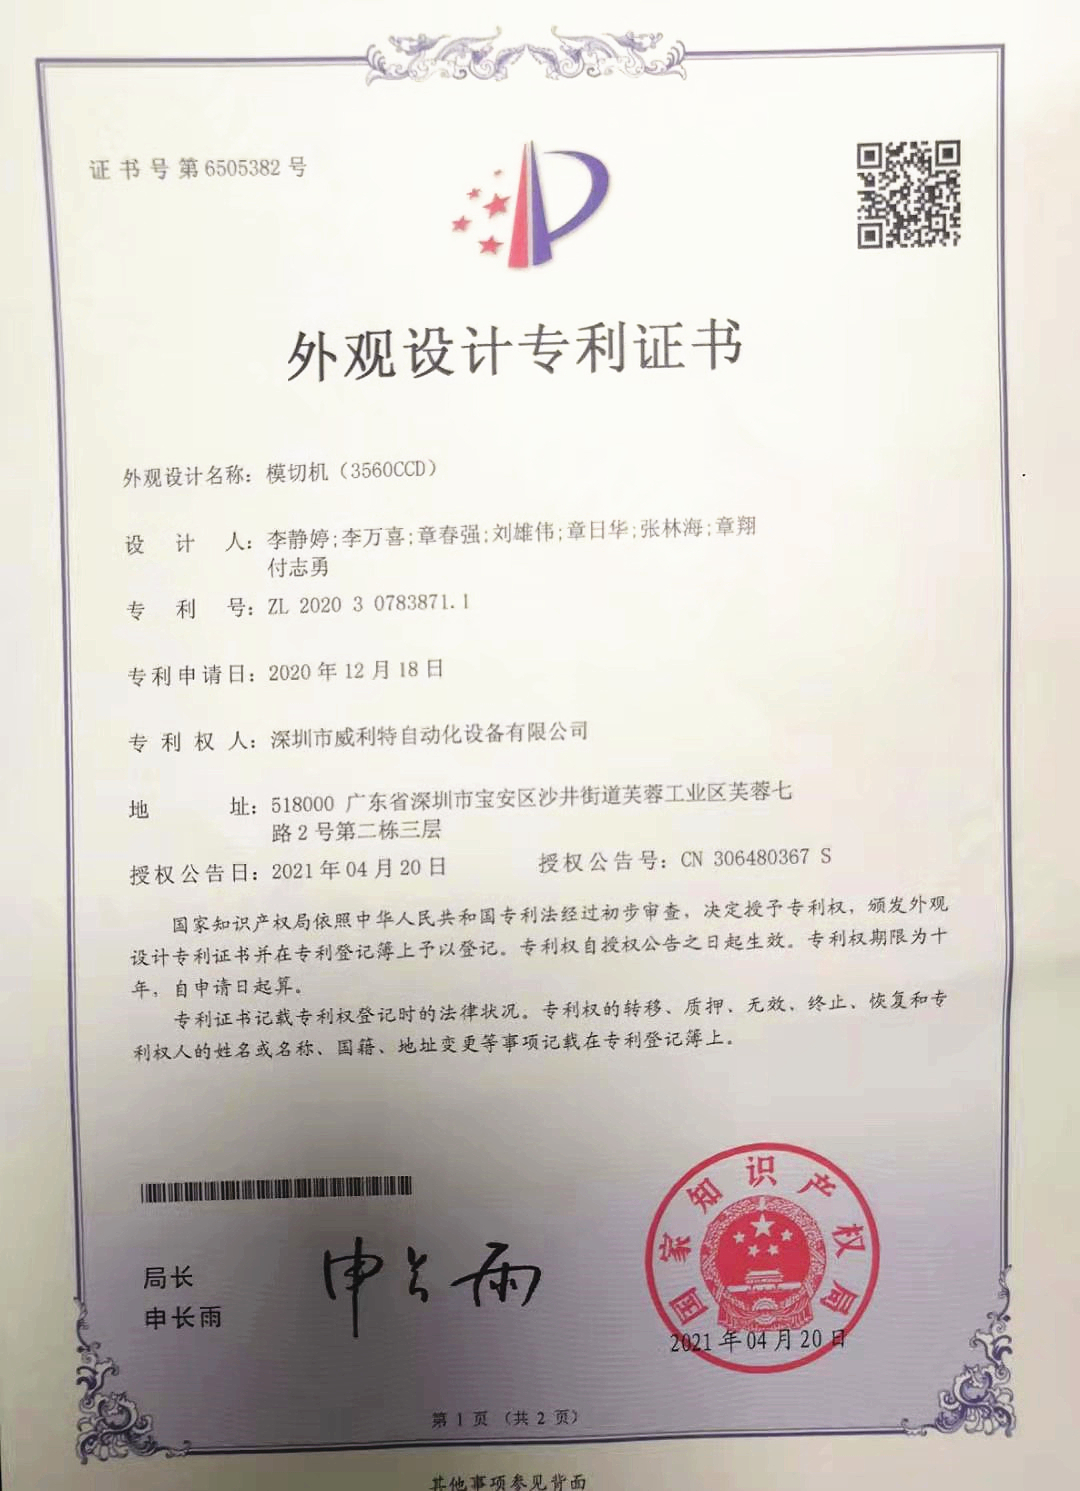

Our equipment is highly automated, and one person can man multiple production lines.
All equipment is CE certified. And can be customized to meet customer requirements of other certification.

Widely used in the photoelectric industry, automotive industry, home appliance industry, FPC, control panel, nameplate, label, packaging material printing and post production.
We provide a one-stop service integrating design, measurement, production, delivery, installation, and after-sales service.
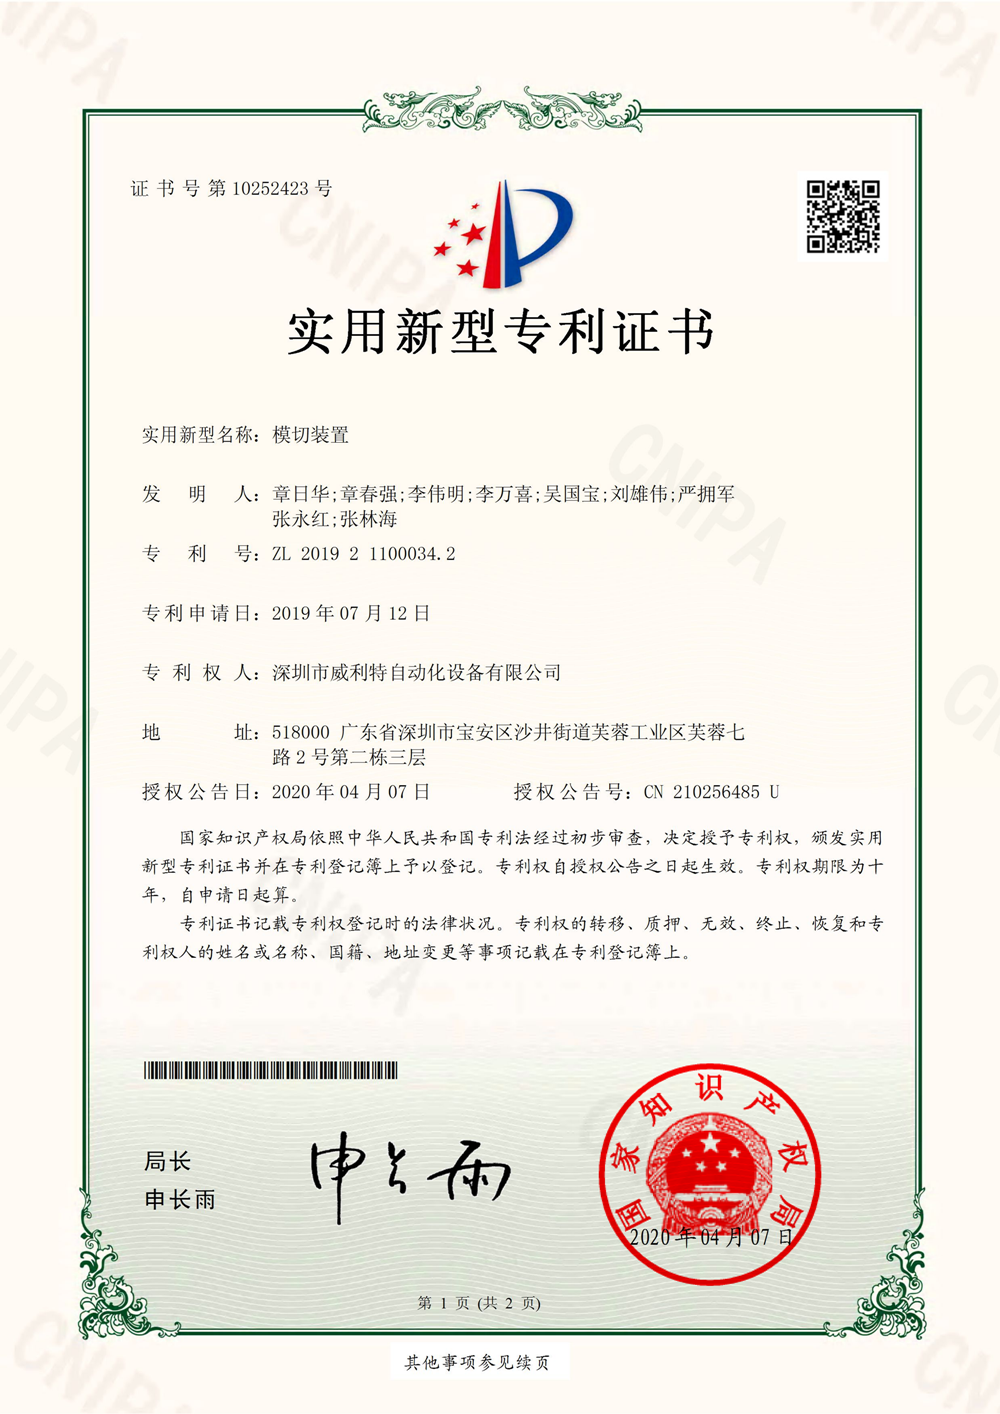
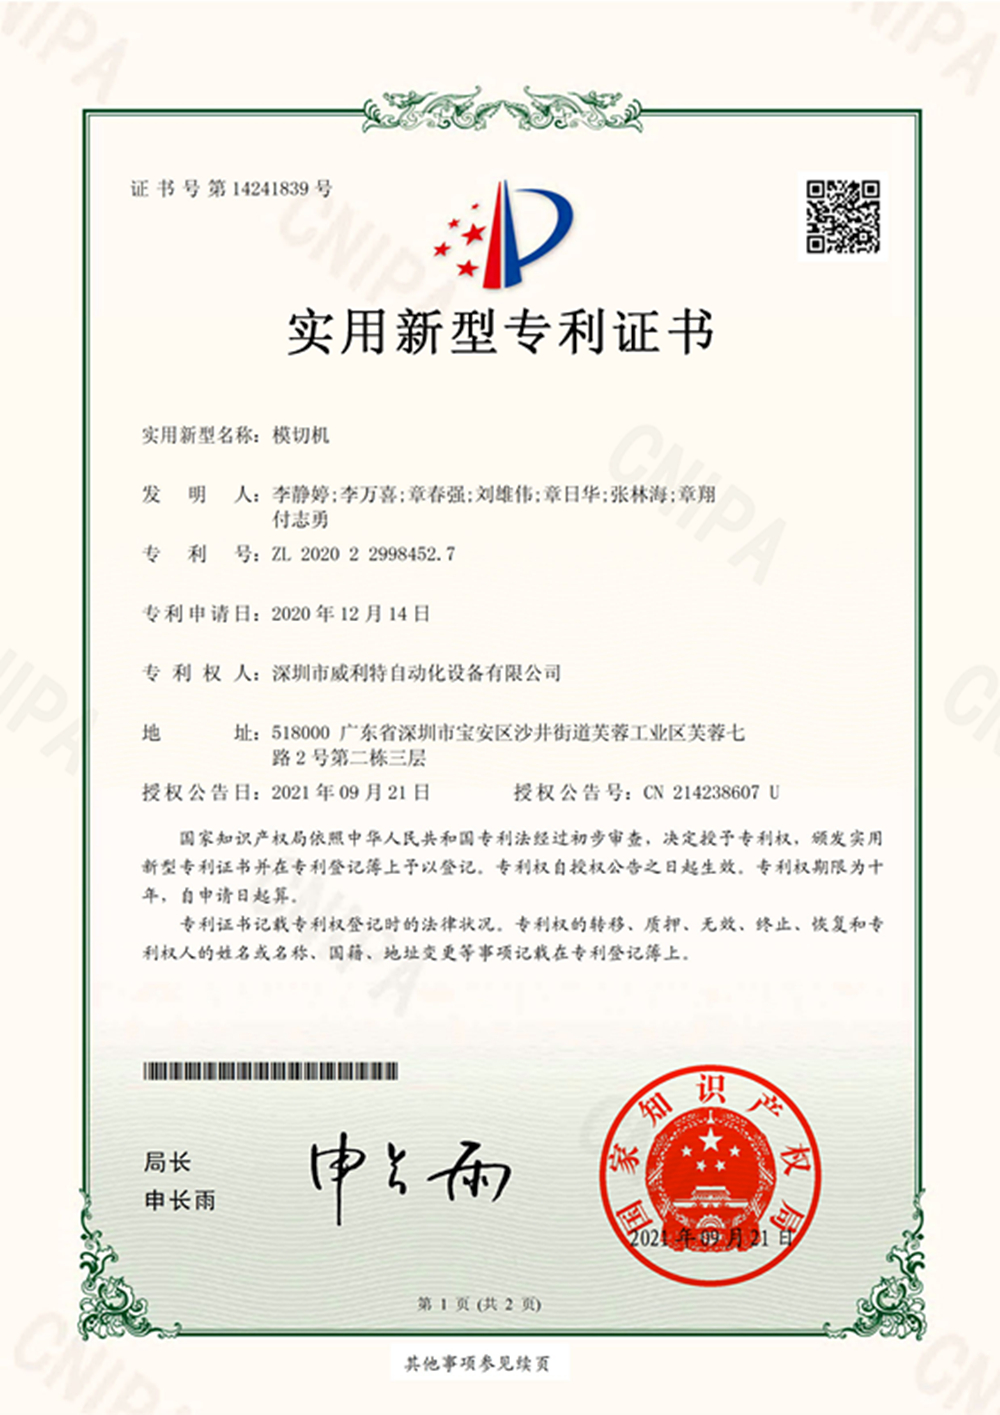
CONSULT OUR CUSTOMERS FOR SURPRISE DISCOUNTS
Please provide us with the information below to complete your request. Just leave your email or phone number in the contact form so we can send you a free quote for our wide range of designs!

VILITY is a Professional manufacturer, providing ONE-STOP SOLUTION for intelligent printing industry.