Professional designer and manufacture of CCD machines for ONE STOP SOLUTION.
Language
Professional designer and manufacture of CCD machines for ONE STOP SOLUTION.
The following gives an overview of the function keys and usage of the operator interface.
Let's start with the panel of the automatic interface. The reset of all axes has just been described.
When clicked, all the mechanical shafts of the printing machine will return to their original zero point.
The second is the pull fan switch, which is used when pulling material, the pull cylinder needs to draw air to maintain suction to drive the material around.
Mechanical keys and operation interface basic key introduction
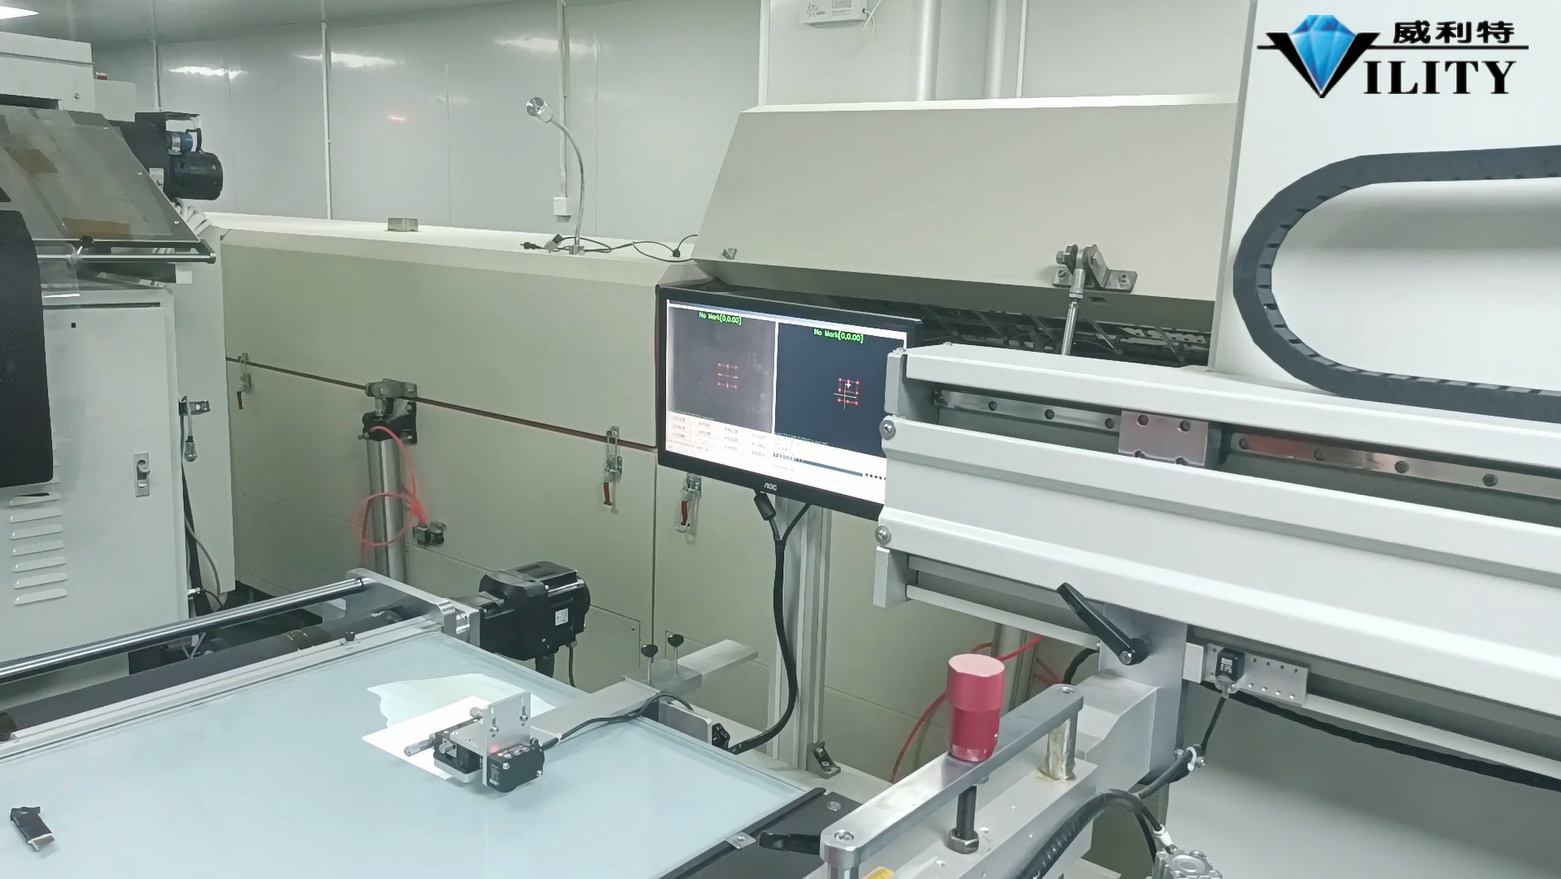
The following gives an overview of the function keys and usage of the operator interface.
Let's start with the panel of the automatic interface. The reset of all axes has just been described.
When clicked, all the mechanical shafts of the printing machine will return to their original zero point.
The second is the pull fan switch, which is used when pulling material, the pull cylinder needs to draw air to maintain suction to drive the material around.
This pul fan switch must be switched on before the printing press is started.
Once switched on, there will be a large suction force on top of the pulling cylinder. This ensures that the material follows the pulling cylinder.
The third button below is the table suction switch.
During the printing process, the material needs to be absorbed onto the table surface in order to print properly.
Therefore it is important to turn the table suction switch on before printing.
The fourth key below is the CCD light source switch, which is used during multi-process registration printing.
The light source is needed to illuminate the material to find a reference point for positioning,that is the Mark point.
Once switched on, a light source underneath will light up, after which we can find the printed mark spot on the display screen.
In the bottom right hand corner is the alarm switch.
This means that if there is a problem with the printing process or if the set parameter value ends the programme, it will automatically go into alarm.
For example, what is the capacity setting, how long does it take to clean the screen and when does it need to be serviced.
It automatically alerts you. This is set according to the actual production situation.
For example, if 300 sheets are printed and the screen needs to be cleaned once, or if 500 sheets are printed and the screen needs to be cleaned once.
Or if you print 2,000 sheets and have to change the material number afterwards.
Then it will automatically go to the alarm.
The second row of interface switches, from right to left, has a stop left and stop right button.
This is to control the squeegee stroke. The squeegee stops on the left or the right.
Let me demonstrate. When you tap Stop Left, the squeegee and ink return squeegee automatically travel to the left.
When you tap Stop Right, the squeegee and ink return squeegee will automatically travel back to the right.
It controls the direction of the squeegee stroke and stop.
The second button on the right is "Self- sucking".
Normally, when you use " self- sucking ", the table fan is on, but the table is not sucking air.
When there is a need for manual operation, the self-sucking is switched on when there is a problem.
Then the suction air on the worktop will firmly hold the material. The material cannot be moved. This is self-sucking.
But during the printing process the self-sucking has to be switched off.
The third key in the second row is an alignment switch.
The alignment switch is used when printing in multi-process registration printing.
It is not normally required for printing the first pass and is switched off.
However, when printing the second time and multi-process registration printing it is necessary to switch on.
When the alignment switch is switched on, the CCD will automatically find the Mark point during the printing process and then perform the alignment.
This will be explained in more detail during the actual printing operation.
The fourth switch in the second row is: arm lift. The arm lift refers to the up and down of the squeegee and the ink return squeegee.
The squeegee head needs to be raised when mounting and dismounting the squeegee, as well as when removing the screen and mounting the screen.
Then the screen and squeegee can be mounted and removed properly; then can they be taken out.
This switch is what controls the up and down of the headstock.
The first two keys in the third row are up and down. This controls the rise and fall of the entire screen arm.
When the up button is clicked, the whole screen arm will rise up and the whole headstock including the arm will be up.
This will usually use when you're installing a screen, or you're dealing with a problem.
When it is normal to start printing be sure to click down, to press and hold down to the lowest position.
After reaching the printing position, you can start the machine normally.
The fourth key is the ink return squeegee, which is well understood. Because there is a squeegee in printing, there is a ink return squeegee, too.
When you tap the squeegee, the squeegee shaft will drop, and when you tap it again it will rise.
This is usually used when adjusting the pressure of the squeegee or ink return pressure.
Then the ink returnsqueegee works on the same principle, it goes down when you click on it and goes up when you click again.
This is usually used when we install the screen and need to adjust the pressure.
The first keysof the fourth row is: the start button.
This start key has the same function as the previous start key for the mechanical buttons.
When the printing has been adjusted and you need to start it, just tap it. It will then start printing normally.
Below this is a stop button, which can be clicked when there is a problem that needs to be dealt with during the printing process.
It is similar to the pause key and will stop the machine in its tracks.
The third key in the fourth row: "One-touch pulling". This controls the pulling cylinder.
The one-touch pulling means that you set the length of the jump distance for each print during the printing process.
For example, if you set a distance of 500 mm, then you click on the manual pull, and it will automatically pull a distance of 500 mm.
This is a one-touch pulling.
The fourth key in the fourth row is a manual pull, which is the same function as the manual pull on the previous mechanical line.
Sometimes when you need to adjust the installation of the screen, you pull the material a little bit manually.
Click on it and the pulling cylinder will automatically rotate to pull the material.
CONSULT OUR CUSTOMERS FOR SURPRISE DISCOUNTS
Please provide us with the information below to complete your request. Just leave your email or phone number in the contact form so we can send you a free quote for our wide range of designs!

VILITY is a Professional manufacturer, providing ONE-STOP SOLUTION for intelligent printing industry.