PCB Drilling Machine
Professional designer and manufacture of CCD machines for ONE STOP SOLUTION.
Language
Professional designer and manufacture of CCD machines for ONE STOP SOLUTION.
So how to correct the deviation of the centre circle?
First, after opening this screen, prepare a white sheet of paper and place it on top of the camera.
Click on the brightness and then dim the entire screen without reflections, so that it is almost black.
Mechanical keys and operation interface basic key introduction
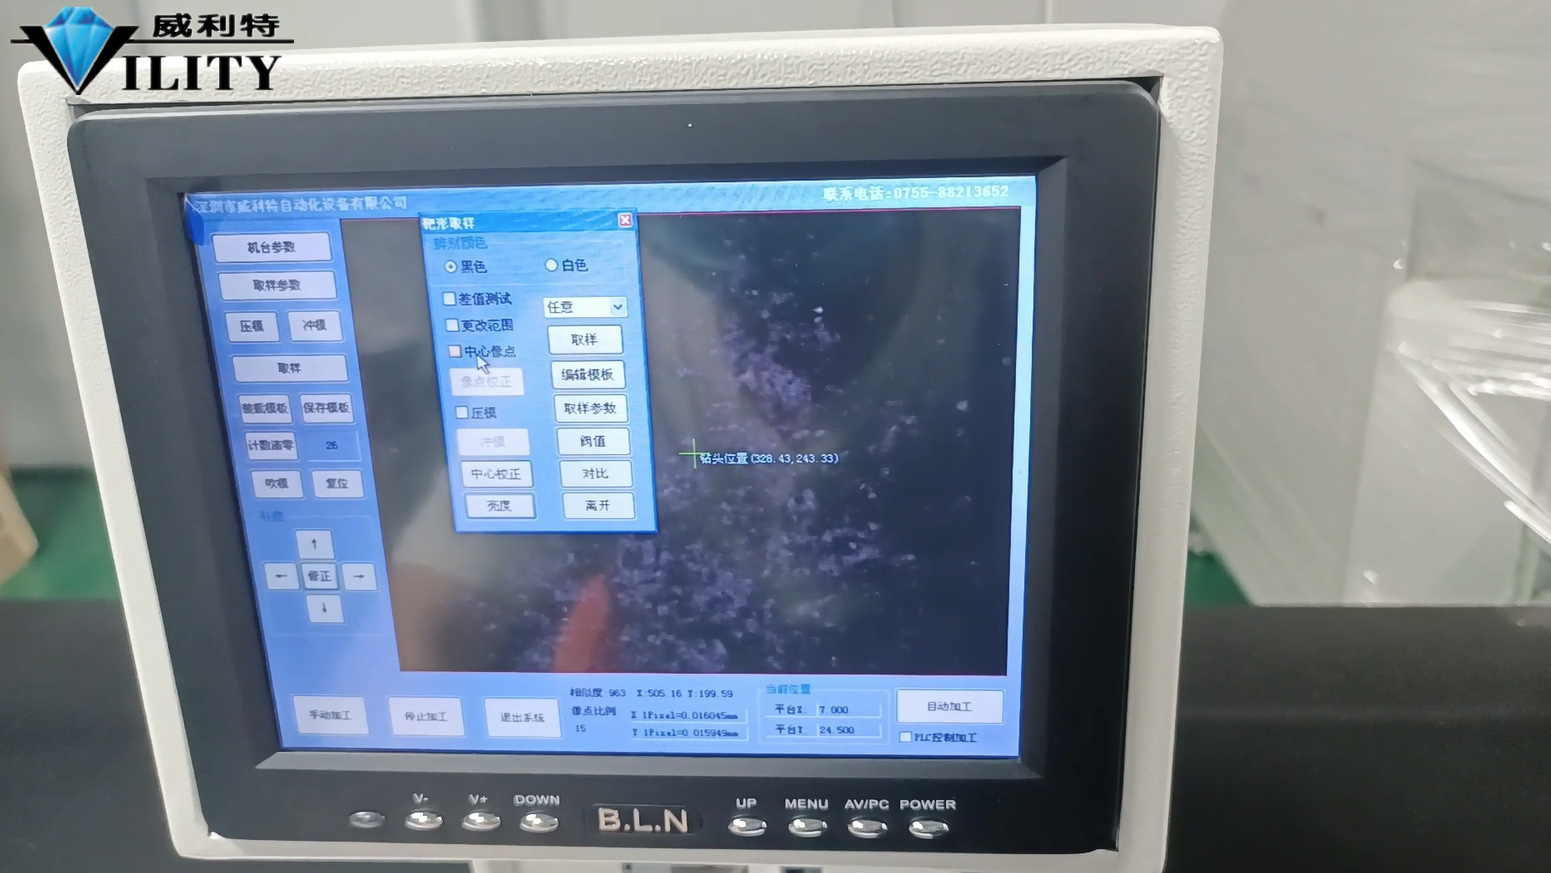
So how to correct the deviation of the centre circle?
First, after opening this screen, prepare a white sheet of paper and place it on top of the camera.
Click on the brightness and then dim the entire screen without reflections, so that it is almost black.
After the adjustment, you can check the "centre image point" and then click on the press and punch.
Before punching the hole, you now need to take a sample, click on Sample, ok, the sample was taken successfully.
The blue box is framing the edge of the white hole, so once you have sampled it successfully, open the presser foot and go to centre correction.
Click on Centre Correction and it will automatically punch the hole, each time you click on it you will get a yes or no message in English, just choose yes.
You will have to do this 3 times and the centre will be punched. Then you will get a pop-up that says "Correction successful", click OK.
Once you are sure, place the white paper on top of the camera and then click on "Image Point Correction".
This time the puncher will automatically punch 4 holes. At the same time, the accuracy data of the punching is displayed.
You can confirm that the smaller the angular error between the x-axis up and down and the y-axis left and right, the more accurate the punching.
The smaller the ratio, the more accurate it is. Look again at the ratio of the x and y axes; the y axis is 0.016 both up and down.
But in terms of angles, one is 0.25, 0.15, 0.53, 0.35. The deviation might be a little bit large.
Re-calibrate in the same way. Press the die, centre it and take a sample.
After sampling, open the presser foot and move it to a black spot. Click on the image point correction.
Another set of values appears, 0.44, 0.45, the error in the y-axis is already small.
Then only 0.03,0.01 on the x-axis; the error is also only 0.02, which is quite small.
Just click Yes and leave this screen for punching.
We have just adjusted the brightness and contrast, so you have to adjust them back after the correction.
Ensure normal operation, make the interface clear and adjust the brightness to a state of maximum clarity.
This can be adjusted during the operation according to the actual material characteristics.
Now the automatic processing starts and the punching is basically free of deviations.
This is how you can correct for the deviations in the punching parameters.
CONSULT OUR CUSTOMERS FOR SURPRISE DISCOUNTS
Please provide us with the information below to complete your request. Just leave your email or phone number in the contact form so we can send you a free quote for our wide range of designs!

VILITY is a Professional manufacturer, providing ONE-STOP SOLUTION for intelligent printing industry.