PCB Drilling Machine
Professional designer and manufacture of CCD machines for ONE STOP SOLUTION.
Language
Professional designer and manufacture of CCD machines for ONE STOP SOLUTION.
What can I do after a deviation in the hole punching.
Based on this hole, now the hole is punched to the right, and the left side is not punched.
So what do you do? Choose the direction of the arrow, black is the position where the hole was not punched out, and correct the deviation in whichever direction it is.
Mechanical keys and operation interface basic key introduction
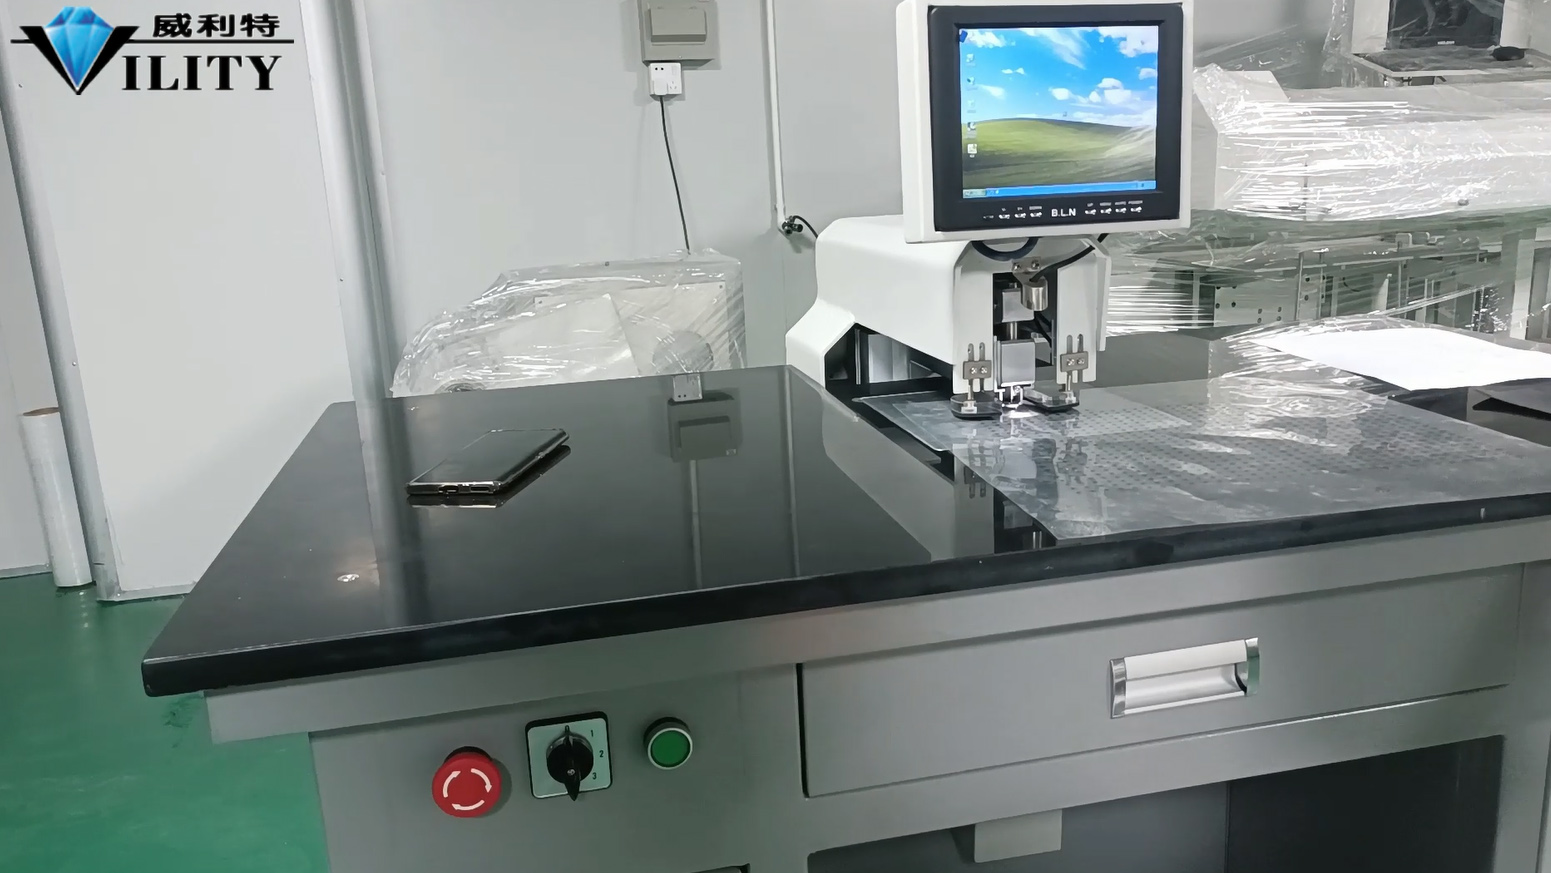
The following explains the basic interface and key operation of the sheet printing machine, as well as the function of the keys on the operating interface and how to use them. First of all, starting from the mechanical keys: the first above the power switch is the total power supply of the machine, the power needs to be turned on when the machine is turned on. The second is the pause button, the pause button is found in the printing process there are bad problems, need to stop to deal with, press the pause button operation will be temporarily stopped; after processing and then continue to press the pause button to open, it will continue to operate to run. The third key is the emergency stop key, this is the same as all common machines above, when an emergency, press the emergency stop key, the whole system will stop operation; after processing the emergency stop key open, and then restart, the machine will run normally. This is the introduction of mechanical keys.
What can I do after a deviation in the hole punching.
Based on this hole, now the hole is punched to the right, and the left side is not punched.
So what do you do? Choose the direction of the arrow, black is the position where the hole was not punched out, and correct the deviation in whichever direction it is.
The estimated range is roughly a fraction of a millimetre, correct it and click on the correction.
Punch the hole again to see how the correction works.
Click on "Automatic processing". The deviation has now been corrected.
What if, after this adjustment, it still misses the mark? How to correct it?
In the sampling parameters, open it. First stop the "Automatic processing" and then click on the sampling parameter.
A small screen will pop up here. What does all this do? Let me give you an overview.
First, there is a "difference test", do not click on it, it is a fixed value, do not check the option to change the range.
What is the change range, that is, an area for the punching search.
For example, if you click on the change range, a green box will appear on the screen when it is ticked.
This means that when the target is in the green box it will automatically recognise to punch; beyond the green box, then it will not recognise.
If the range is narrowed down, then it may only be within the green box, but not outside of it.
For this type of search, set the full screen. After setting the full screen, just tick it off.
Now the box will turn red after setting. You can then search in full screen mode.
The second point - the central image point, this belongs to the parameter correction, later on after the other introduction, and then how to go to correct the deviation.
There is a brightness here at the bottom, what is the brightness adjusted for?
When moving the brightness, the smaller the value, the darker the screen will be, and the operation must be adjusted to fit the range of materials.
This is because the materials used are different, transparent, translucent and opaque.
Therefore, when adjusting the brightness, it is important to adjust the size of the brightness according to the material.
The same applies to the contrast ratio, which is the switch that adjusts the clarity and brightness of the image.
The value should be adjusted according to the material.
So that's it.
CONSULT OUR CUSTOMERS FOR SURPRISE DISCOUNTS
Please provide us with the information below to complete your request. Just leave your email or phone number in the contact form so we can send you a free quote for our wide range of designs!

VILITY is a Professional manufacturer, providing ONE-STOP SOLUTION for intelligent printing industry.